The whitelabel dashboard is the interface through which partners of GPT-trainer can customize their own deployments of the app. Using the dashboard, partners are able to change the name, branding, and colors of the app. Partners are also able to manage their users, set their LLM API keys, and much more.
Before you can get started with the dashboard, you will need to reach out to GPT-trainer staff with your email. We will provide you with a temporary password, which will enable you to log in to the dashboard. Once you have logged in, please change your password via the menu on the top right:
In the dashboard, you will need to complete the following tasks to get started:
- Add your app’s information.
- Set up your domain.
- Set up your email sender information.
- Add your LLM API key(s).
- Set up your Stripe account
- Create a free tier plan for your users.
We will cover these steps in the remaining sections of this page.
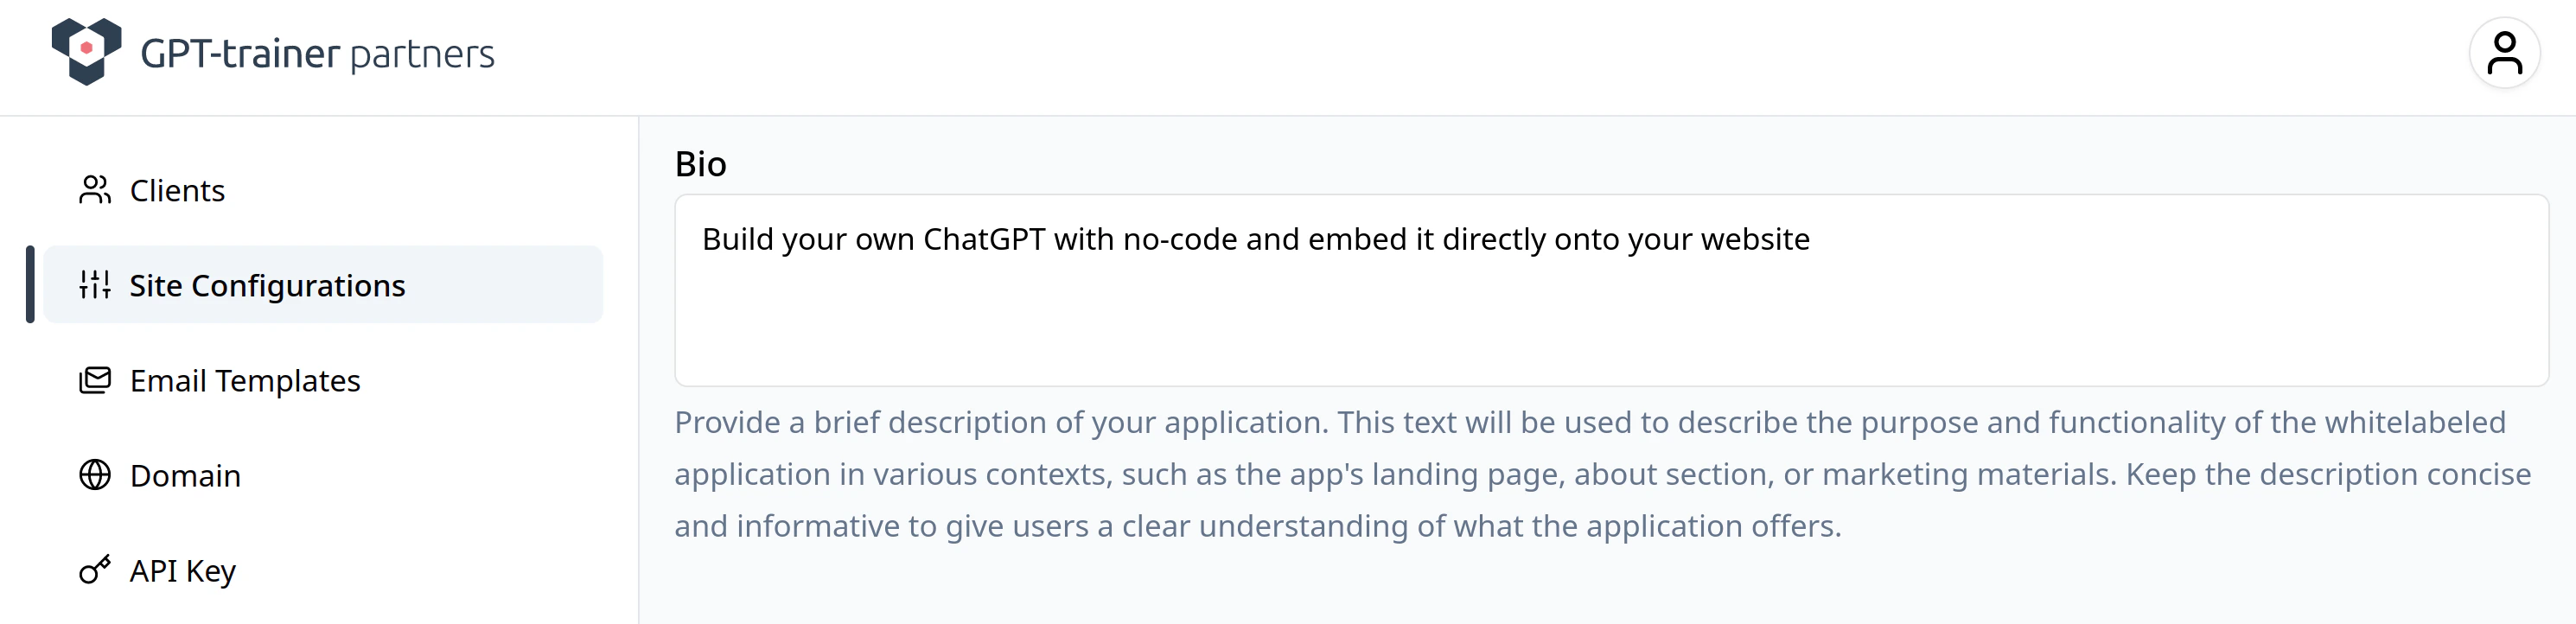
The “Site Configurations” tab on the left-side menu is where you can go to change the user-facing information for your app, such as:
- The name of your app
- A description of your app
- Your customer communications email
- Your website URL (preferably separate from the address of your app. For example, the GPT-trainer website is https://gpt-trainer.com/, while the GPT-trainer app is hosted at https://app.gpt-trainer.com). Please include the
https:// part of your URL.
- Your logo (preferably
.png or .jpg. Do not upload .svg files for your logo) and favicon
- The colours of your app
You can update this information at any time. The changes will eventually be reflected to your users. They may not be updated immediately. Since we use a browser cache to store this information, your users will have to open the app in a new tab or window for any changes to be reflected.
Setting up your app’s domain
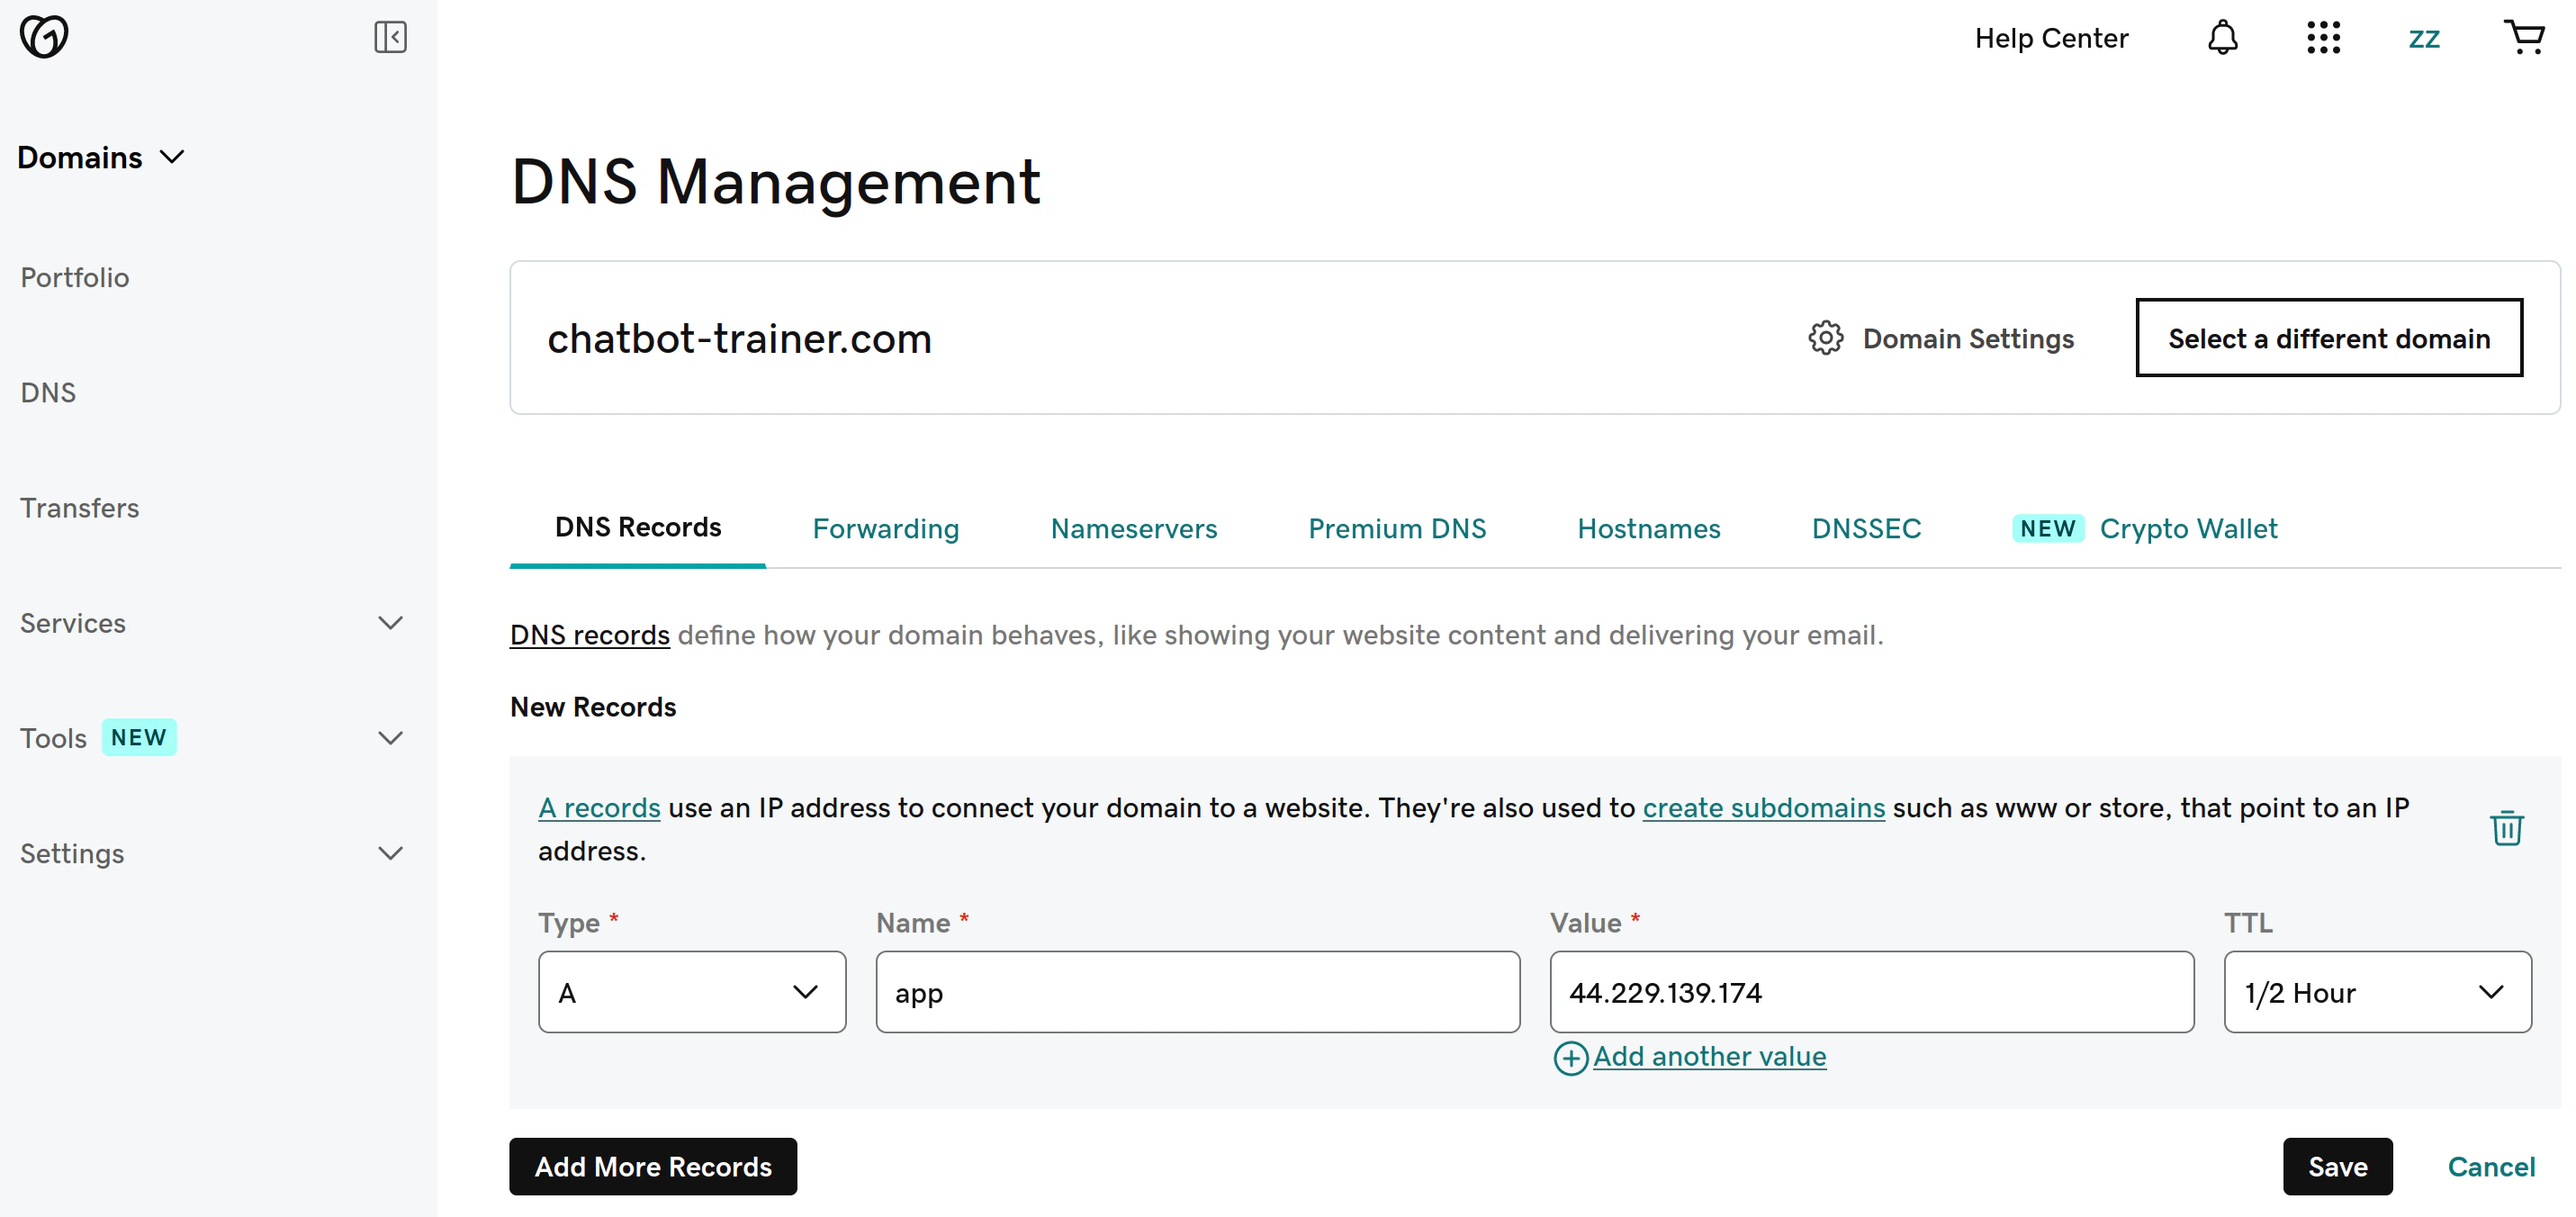
For this step, you will have to add a DNS A record with your domain service provider that points to the IP address provided to you on the “Domain” tab. You can use the root domain, or a sub-domain. For example, if you want your app to be registered at app.chatbot-trainer.com, the record to add is pictured below:
If you are adding the root domain, the “name” section should be the character @; if you are adding a subdomain, it should be the name of the subdomain, e.g. app. If your domain provider is GoDaddy, the page you want to add your record at might look like this:
Fill in the fields as directed, and click “Save”. If you are using another domain provider, please follow their instructions for adding DNS records.
It may take a few minutes for the record to propagate, so give it some time before adding the domain to your GPT-trainer Partner dashboard. You must create the record first before using it in your dashboard.
Please note: you must ensure that there is only a single A-record for your domain. If you have multiple records that point to different IP addresses, setup will not work. You can use a tool like Nslookup.io to check if there are multiple addresses associated with your domain. If there are, you must delete the other records before proceeding.
Finally, the IP address used in the example is for testing purposes only. For the production version of your app, you will see a different IP address in your dashboard.
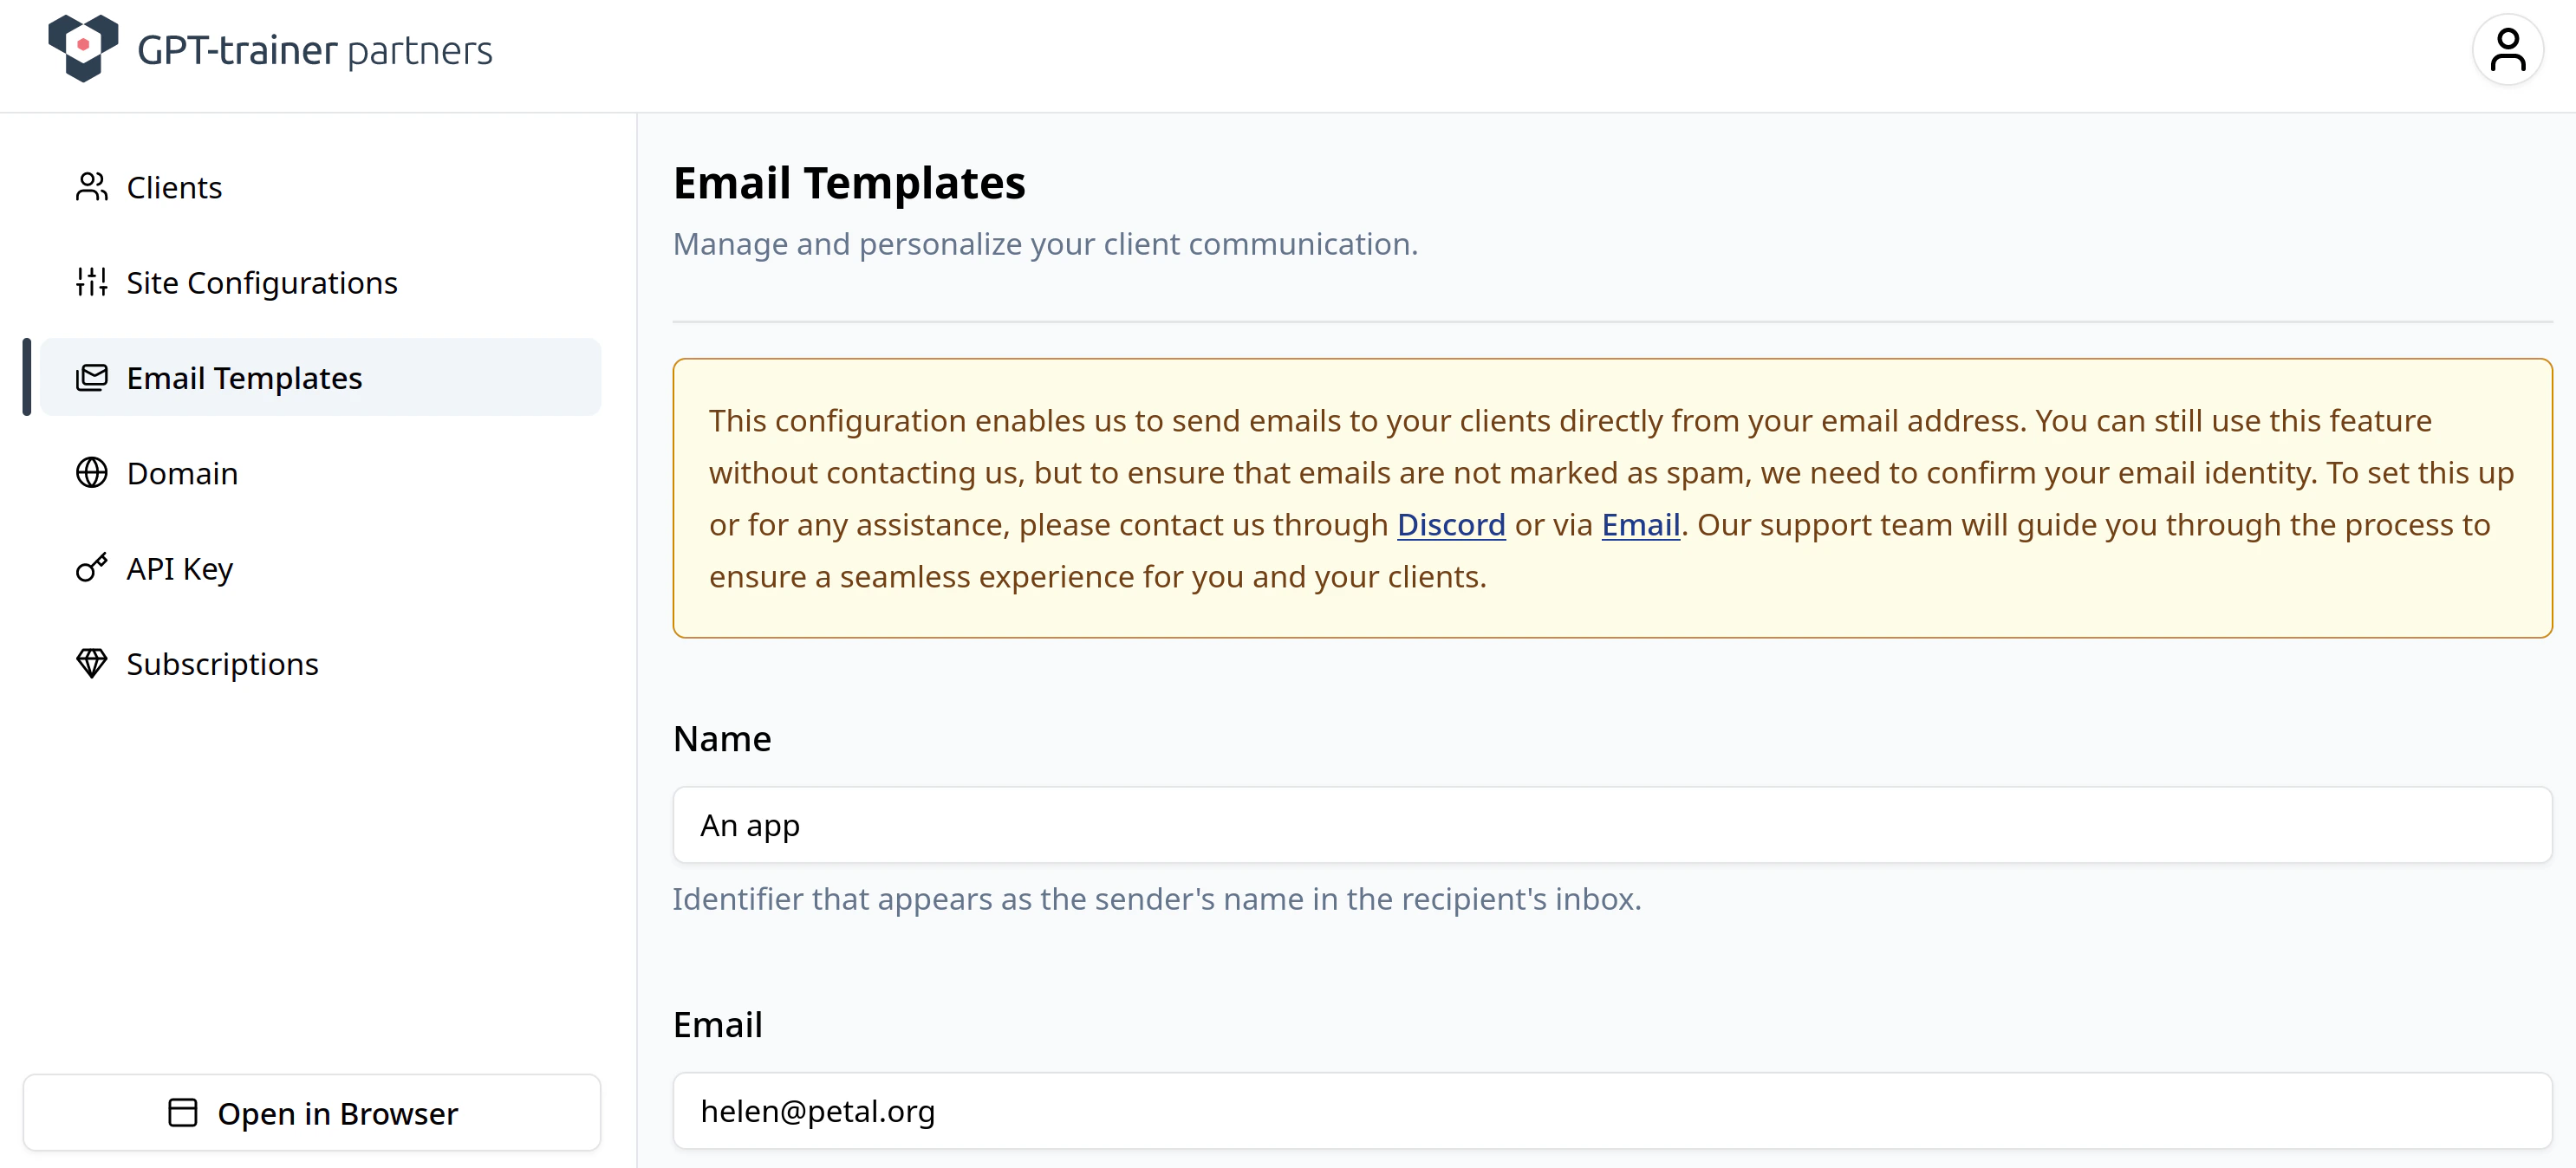
The email you enter on the “Email Templates” tab can be different from the one you provided on the “Site Configurations” tab. The email and name on this page will be used for automated communications with your users, such as sending verification codes, confirming purchases, etc.
Please use your own domain for your email (for example, hello@chatbot-trainer.com). Do not use Google, Yahoo, or other email providers. This is because the automated email service needs to verify your ownership of the domain to send from it.
Once you know the email you want to use for this part, please contact us, GPT-trainer, directly. We will work with you to verify your domain.
Your app will not work without setting up the automated emails with us. Please
reach out to us once you are ready for this step.
Adding your LLM API key(s)
In order to deploy your whitelabelled app, you will need to obtain your own OpenAI API key. Simply paste it into the box on the “API Key” tab in the dashboard, click “Add”, and you are good to go. You can change this API Key at any time. You cannot delete the key after adding it, only replace it with another key. This is because removing the key at any point will break AI functions for your users. Please verify that your API key is functional before entering it. You must add an OpenAI API key, as it is used for basic functions of the app.
Optionally, you can add Anthropic Claude and/or Google Gemini API keys. Your app will work without these, but adding them will allow your users to use Claude and Gemini models in addition to OpenAI models.
Setting up Stripe and the free tier plan
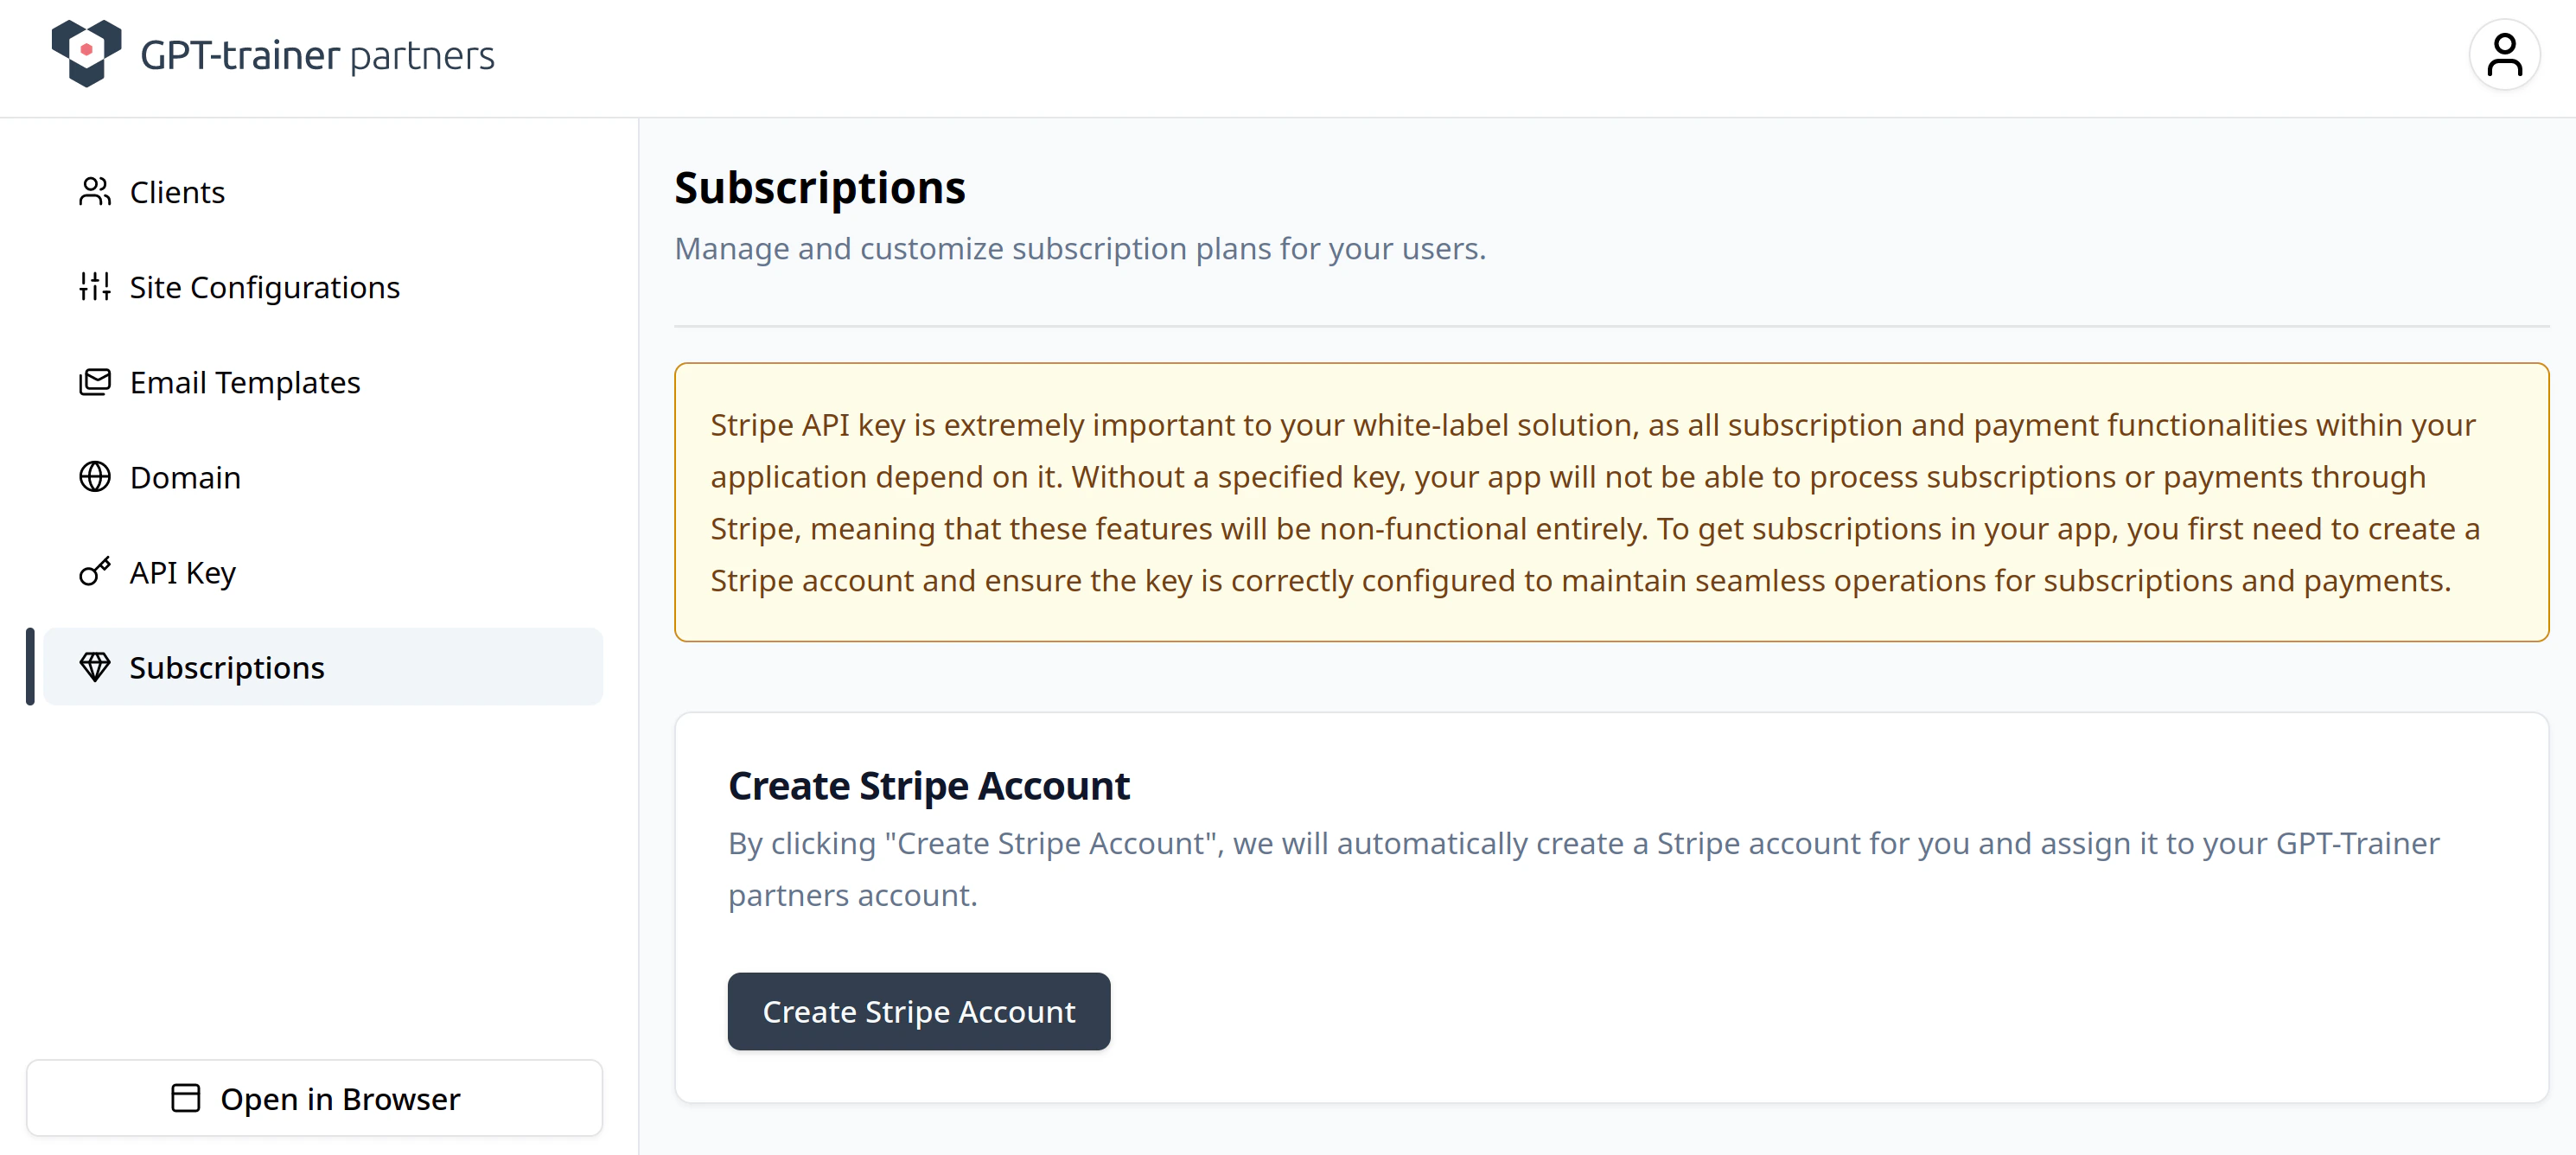
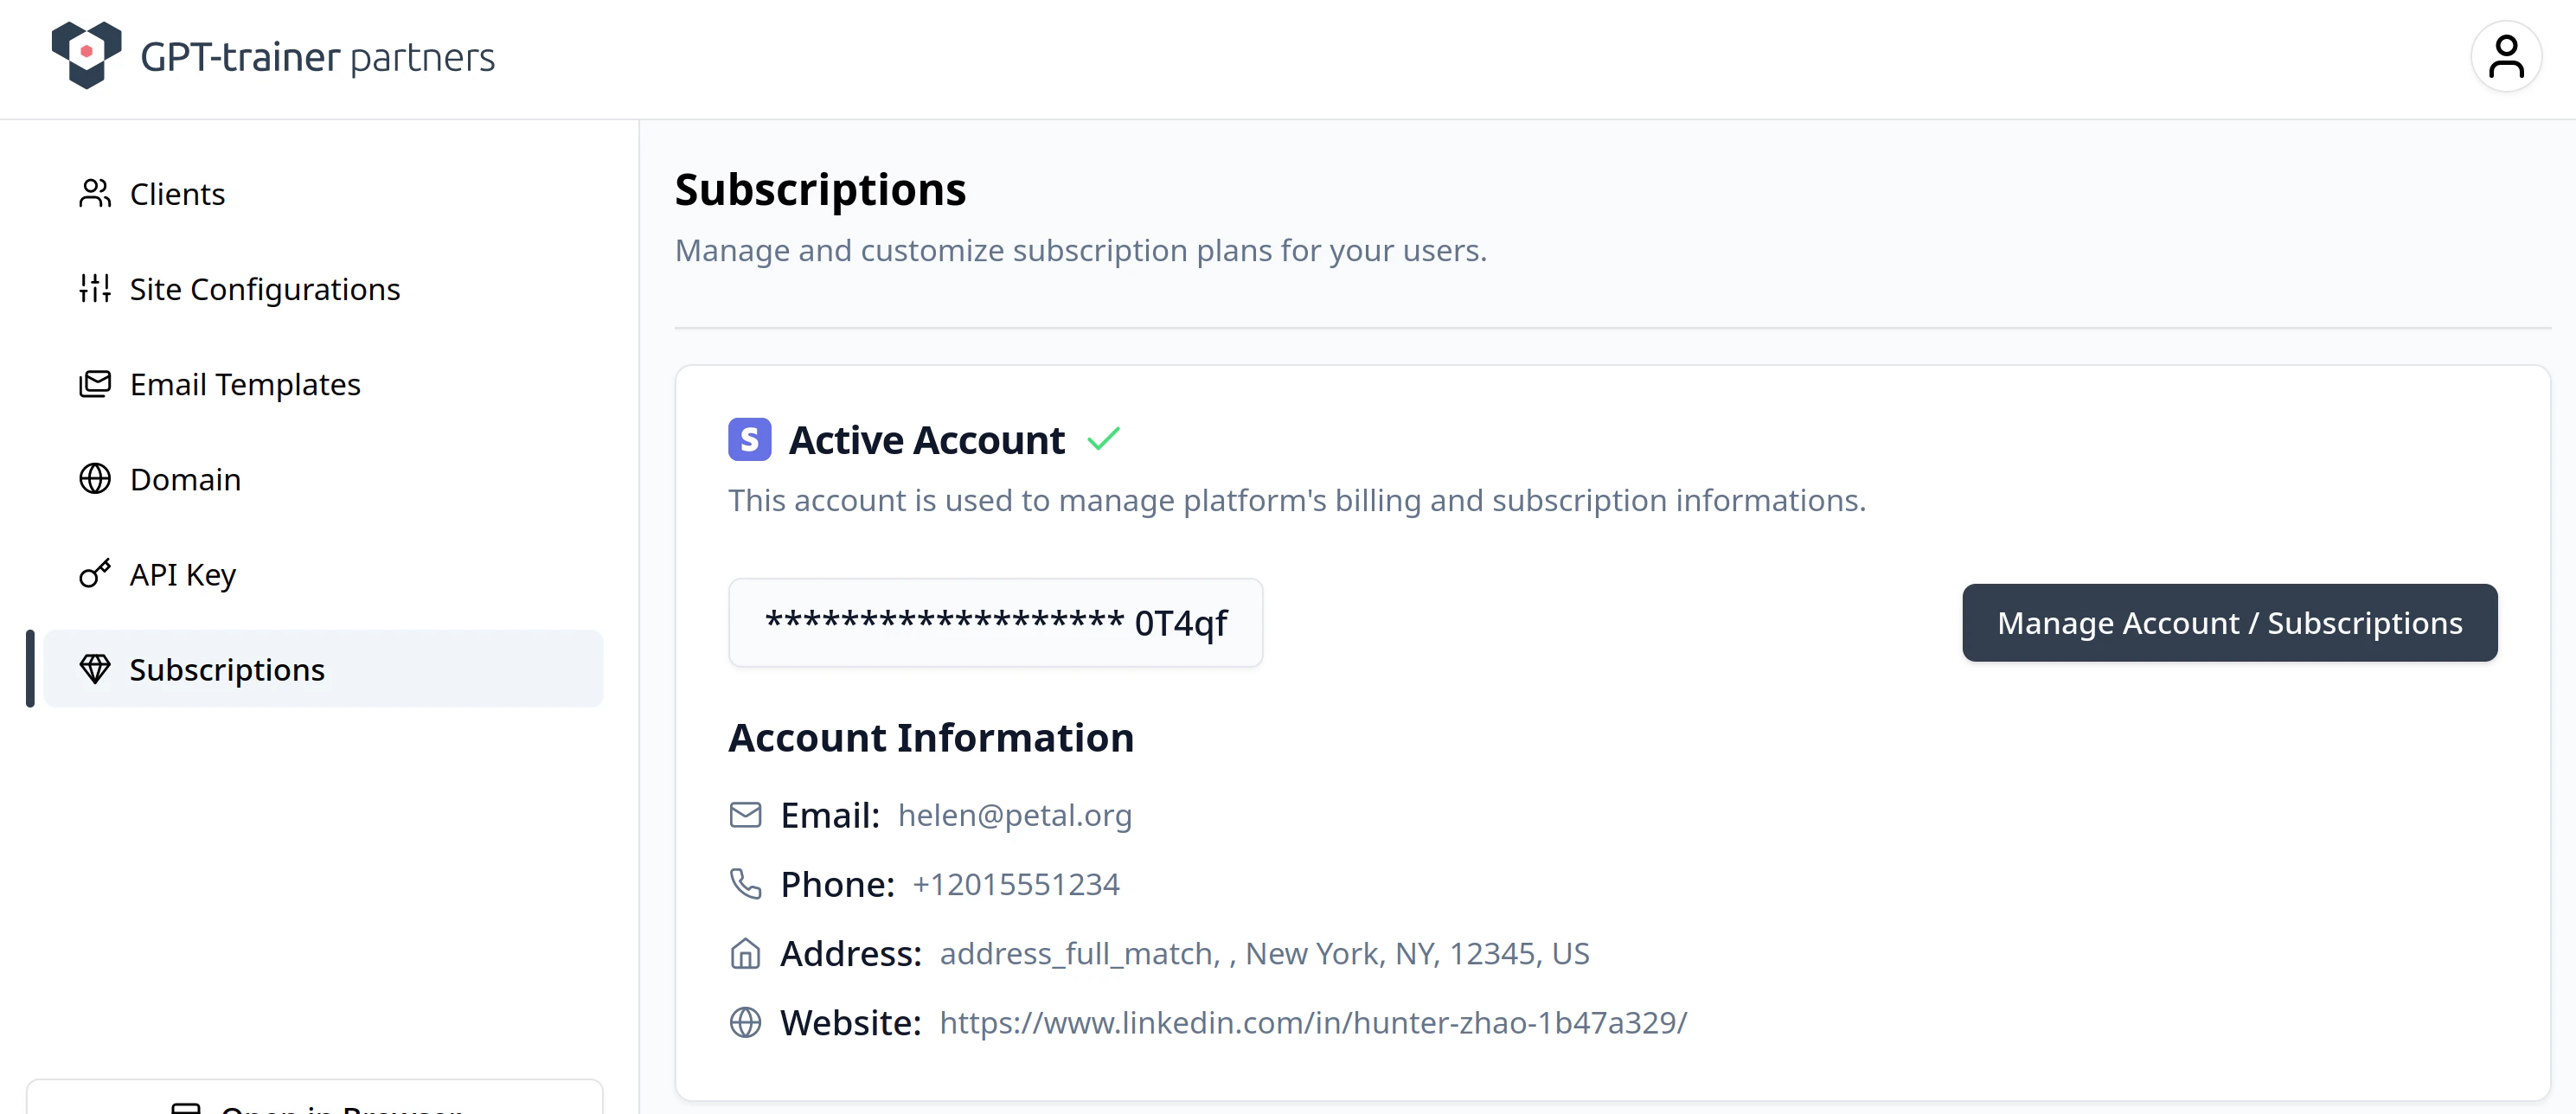
You must create or link a Stripe account to be able to use subscriptions/plans within your app. To get started, simply click the “Create Account” button in the “Subscriptions” tab. Then, click the button that appears in the same location to be redirected to Stripe, where you can complete the Stripe onboarding process. Be prepared to fill out personal, business, and bank details.
Once you have completed the Stripe setup, your dashboard should look like the above, and you will be able to
- Decide if you want to provide your users with a Free Tier Plan and/or a trial, and edit its perks.
- Create paid plans.
- Create paid add-ons.
If you change the limits on your Free Plan on this page, the changes will be automatically propagated to your Free Plan users.
For more details on creating paid plans, please see Creating plans.